My process for creating my images can be broken into three main steps:
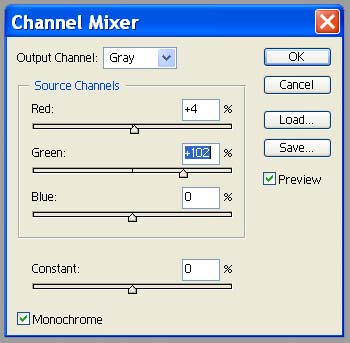
1. First, I convert to Black and White in Photoshop via the Channel Mixer. I turn on the Monochrome setting, and generally take the red channel to 0 and the green channel to 100 or so. This tends to cut down on the amount of noise in the image.
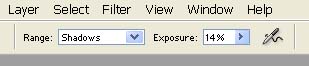
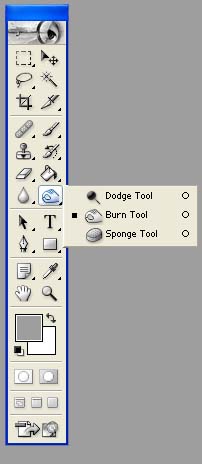
2. Next, I dodge and burn the image using the Dodge and Burn Brush. I alternate between the two brushes while working on an image. When using the burn brush, I always have the range set to Shadows, and when using the dodge brush, I always have it set to highlights. I never dodge or burn the midtones of an image. I very rarely set the exposure above 15%, unless I'm trying to completely burn out the sky, in which case I will set it to 100%.
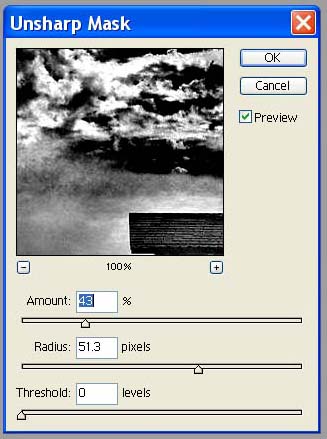
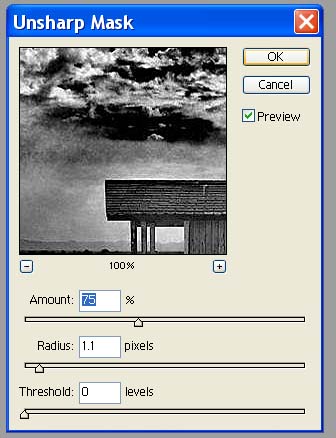
3. Use the Unsharp mask in two passes: one to make the image more intense, and another to sharpen it. The first pass has a high radius and a lower amount. This tends to make the image "pop". The second pass uses a low radius and a higher amount, which sharpens the image on the pixel level (making it less blurry)
The two images below illustrate these steps visually. You will need the Flash plugin to view these files. Just click on an image. Once loaded, move your mouse from left two right over the image, and you will be able to see how the image evolves as I work through the process.
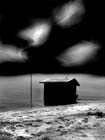
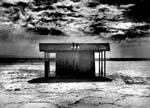
When I dodge and burn, I like to think in terms of a battle between light and dark. I sometimes go back and fourth between the dodge and burn brushes over the same area, alternately brightening and darkening. This can give the image a somewhat harsh look, which I think adds to the drama.
More detail will be added to this page as time permits, so please check back.